Forwarding emails is a common practice in inbox management. But what if you need to forward all emails to another address? You can setup forwarding email in Gmail.
Setup Forwarding Email in Gmail
Overview

Maybe you’re preparing to switch from one email address to another, or perhaps you use Gmail for business and want others at your company to receive the emails, too. You can set this up in a few simple steps.
How to Setup Forwarding Email in Gmail
To get started, you need to enable email forwarding in Gmail. So, head to the Gmail site and sign in if necessary.
Click the gear icon at the top right to open the Settings. Then, click “See All Settings” at the top of the sidebar.
![]()
Select the “Forwarding and POP/IMAP” tab in your Settings. The top of this section, labeled Forwarding, is the area that you’ll work with. Click “Add a Forwarding Address.”

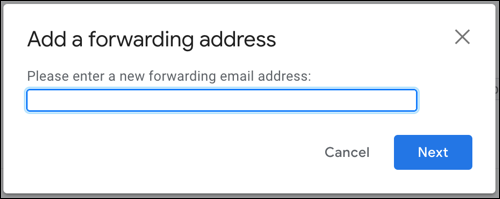
Enter the forwarding email address that you want to use in the pop-up window and click “Next.”
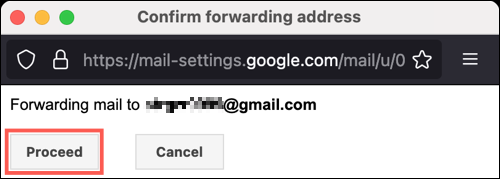
You’ll see a confirmation of the email address open. Verify that the email address looks correct and click “Proceed.”
Next, you’ll receive a message that a confirmation code has been sent to the email address that you provided. Click “OK.”
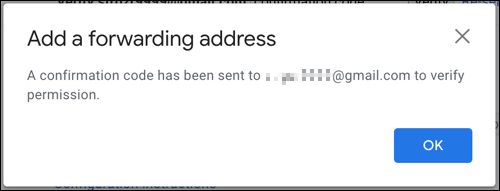
To finish setting up the forwarding, you’ll need access to the email address or the person to whom it belongs. That address should receive an email from the Gmail Team containing a direct link to confirm the request, along with a confirmation code.
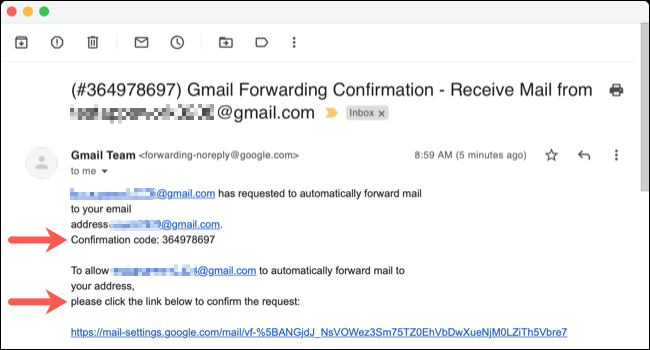
Either click the link and follow the prompts or copy the confirmation code. Then, enter it in the Forwarding section of your Gmail settings and click “Verify.”

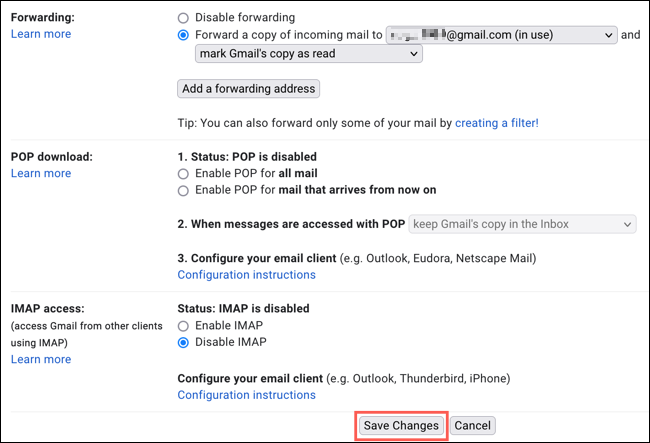
Once you’ve successfully set up the forwarding email address, you must turn on the forwarding feature. To do that, select “Forward a Copy of Incoming Email to.”

In the second drop-down, you can decide what to do with the emails that arrive at the current Gmail inbox. This gives you the flexibility to keep those emails in your inbox, mark them as read, or archive or delete them.

When you finish, click “Save Changes” at the bottom.
Having all emails that your Gmail account receives automatically forwarded elsewhere is a helpful feature for many situations. Should you want to turn it off later, however, simply revisit the Forwarding section of your Gmail settings and click “Disable Forwarding.”
Read more :

