
Windows 10, 11 has several ways to automate tasks. We will show you how to launch Cron Auto on Windows 11 now.
Table of Contents
Launch Cron Auto on Windows 11
Introduce

The most common tool is the Windows Task Scheduler, but if you’re using the Windows Subsystem for Linux (WSL), there’s also the cron daemon that runs tasks in the background for your WSL install.
On Windows 10 and Windows 11, cron comes included with Linux environments like Ubuntu. The trouble is that WSL doesn’t start cron automatically, meaning that your automated tasks aren’t getting executed by default.
To fix this, you could start cron manually every time you open the command line, but manually starting a tool that’s supposed to automate tasks is kind of missing the point.
Luckily, there’s an easy way to fix this, and it requires using the Task Scheduler.
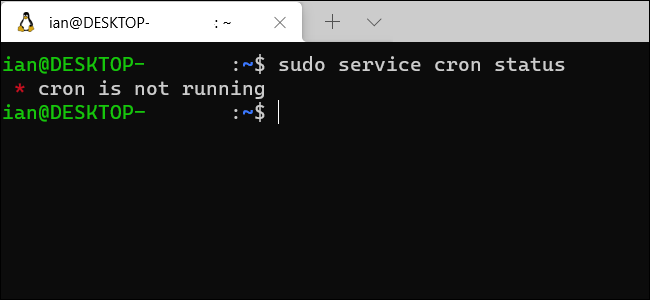
If you’ve never used cron in Linux to run tasks, check out our previous tutorial on how to schedule tasks on Linux. For our purposes here, we’re going to assume that you’ve already created some cron jobs in your WSL install and that you need help making sure that they run instead of babysitting cron all the time.
For this tutorial, we’re going to use sudo service to check and start cron, which is the recommended way to stop and start services on modern builds of Ubuntu—the most popular distribution for WSL.
Also, note that this tutorial assumes that you have administrator rights on your version of WSL. If you’re the only user of your PC and you enabled WSL on your own, then you do have administrator rights.
Linux Enviroments
The first thing that we have to do is allow the computer to start cron without a password. When you start a service like cron, you use the command sudo service cron start. But that command requires a password, which Windows won’t have access to when it starts up. The way around this is to turn off the requirement for a password for this command.
To do that, open your WSL terminal window and type in sudo visudo. Hit Enter on your keyboard, enter your Linux password, and hit the Enter key again. If you’re using Ubuntu, this opens the “sudoers” file using the beginner-friendly Nano command-line text editor. Sudoers is a file for system administrators that can change privileges and access rights for users.
Add the following command to the bottom of the sudoers file, and then press Ctrl+o to save and Ctrl+x to exit the file.
This sudoers command says that any user who has enough privileges to use the sudo command (that should include you) doesn’t require a password to run the command sudo service cron start, which starts the cron daemon.
After you’ve saved the file, you can check that the command is doing its job by typing sudo service cron start, and it should start cron without asking for a password. If that worked, let’s turn cron off again so that we can test that the task we’re creating in the next step works properly. To do that, please run sudo service cron stop.
Set Up Cron in the Windows Task Scheduler
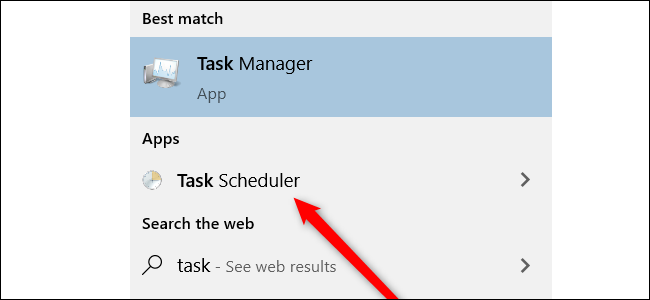
That’s phase one of our journey toward cron automation. Let’s move on to part 2 with the Task Scheduler. Tap the Windows key on the keyboard, and then search for “Task Scheduler.” Launch the “Task Scheduler” shortcut.
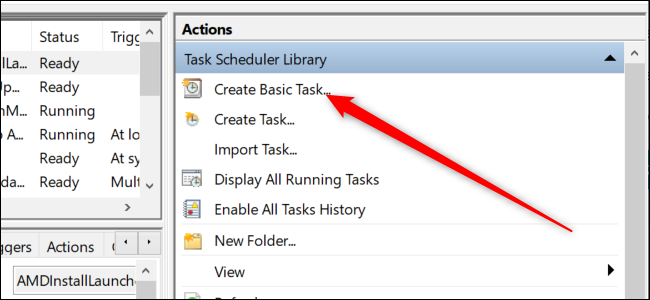
When it starts up, look under the “Actions” section and select “Create Basic Task.”
This opens the Basic Task Wizard. First, it’s going to ask you to name the task and give it a description. You can enter whatever you want here. We called the task “cron,” and the description is, “A task to start cron at system startup.” Now, hit “Next.”
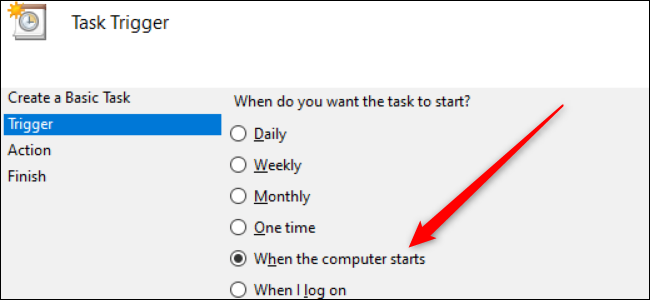
In the following section, we get down to business. First, Windows wants to know when we want to run the task. Choose the “When The Computer Starts” radio button and click “Next.”
In the next section, we want “Start A Program.” That option is selected by default, so click “Next.”
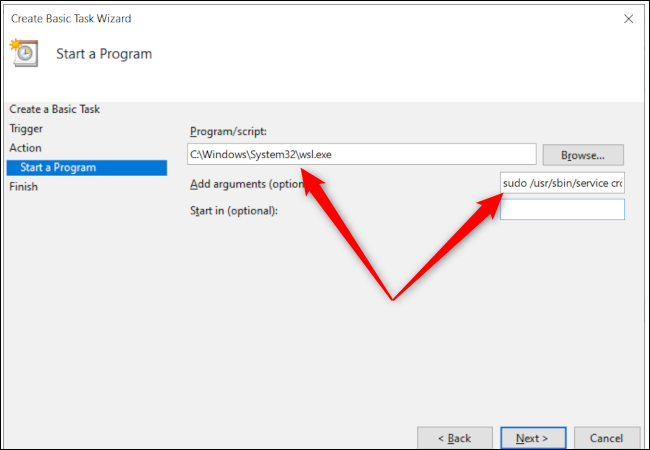
Now, we have to specify the program that we want to run, which is WSL. Enter the following into the “Program/Script” text entry box: C:WindowsSystem32wsl.exe
We also need to add some arguments, since all we’ve done so far is start WSL, but inside WSL, we need to tell Ubuntu to start cron. So, in the “Add Arguments” box, add: sudo /usr/sbin/service cron start
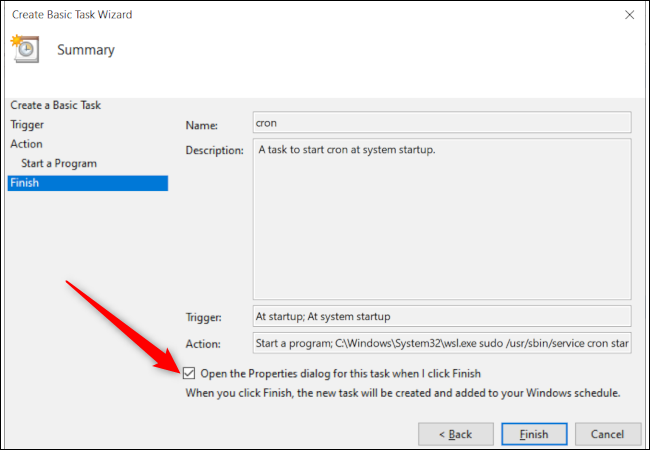
Hit “Next” one more time, check the box that says “Open The Properties Dialog When I Click Finish,” and then click “Finish.”
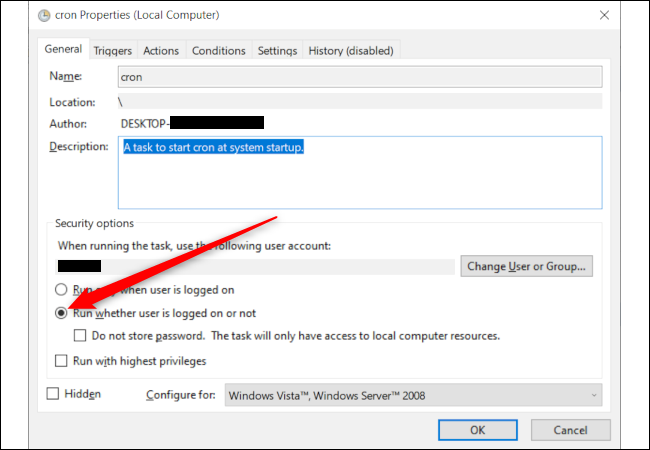
The task is created, but we have to do one final thing to make sure that everything works. A new window will open, which shows the summary of the task that you created, but it’s only set to run when you’re logged on. We need to select the radio button that says “Run Whether User Is Logged On Or Not,” and then press “OK.”
Launch Cron Auto on Windows 10, 11
Now, let’s test our task in two ways. First, in the main window of the Task Scheduler, scroll down until you see your task name. If you used the name “cron,” it should be found toward the top of the list. Right-click the task and select “Run.”
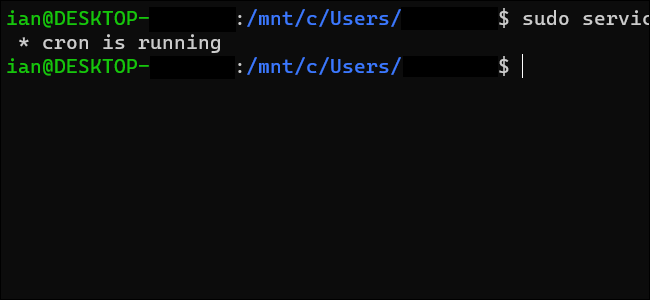
Then, go back to your WSL terminal and type in sudo service cron status, and it should say that cron is running. If it isn’t, double-check that you entered everything correctly in the previous steps.
If everything worked properly in the first check, it’s time for the big test. Restart your PC, and when you get back, open a WSL terminal and run sudo service cron status, which should report that cron is now running.
Congratulations ! You can Launch Cron Auto on Windows 11 from now.
You’ve taken your first step into a larger, automated world. With cron running in the background, the cronjobs that you configure in WSL will automatically run on schedule.
Read more :

