
Spreadsheets don’t always have to look like a solid wall of text. You can break that monotony by adding some images to your cells in Google Sheets.
Table of Contents
Insert an Image in a Cell in Google Sheets 2021
Introduce
We will help you some guide to insert an image in a Cell in Google Sheets easily and fastest.

Quickly Insert an Image in a Cell
Google Sheets has a really simple way to insert an image in a cell. First, go to https://docs.google.com/spreadsheets/ and open any spreadsheet. Now, click any blank cell in the spreadsheet and go to Insert > Image.
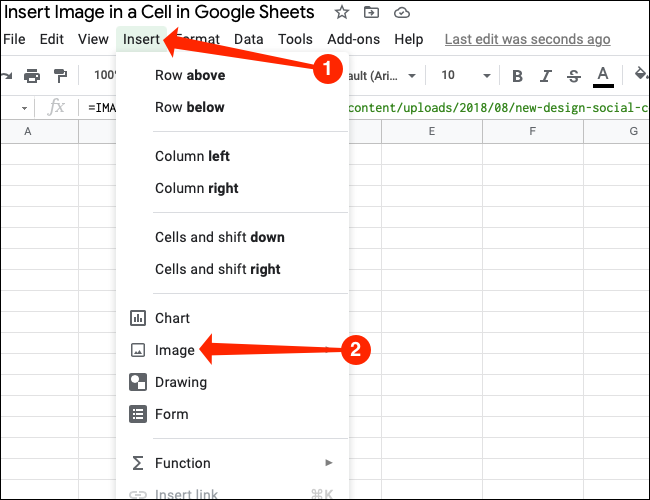
Since our goal is to add a picture inside the selected cell, let’s select “Image in Cell.”

This opens an image selection pop-up with a lot of options. We’ll quickly walk you through all of these so that you can pick the one that’s best for you. To upload a file from your computer, click the “Upload” tab.

Now, click the blue “Browse” button that appears once you select the “Upload” tab.

You can now easily navigate to any file on your computer and double-click to upload it to the selected cell in Google Sheets.
To take a picture using a webcam, click “Camera.”
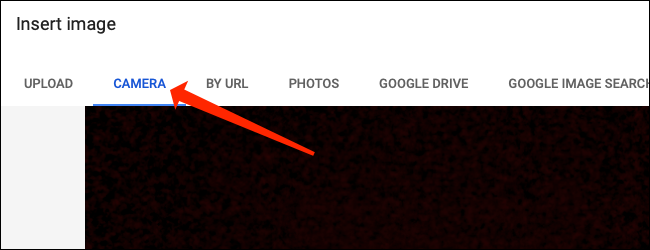
Hit the yellow camera icon in the “Camera” tab when you’re ready to take a picture.
![]()
Then, you can click “Insert,” which is located to the right of the camera icon, to add the image to your spreadsheet.

Click the “By URL” tab to import an image using its URL.

Paste the link in the text box in the “By URL” tab.
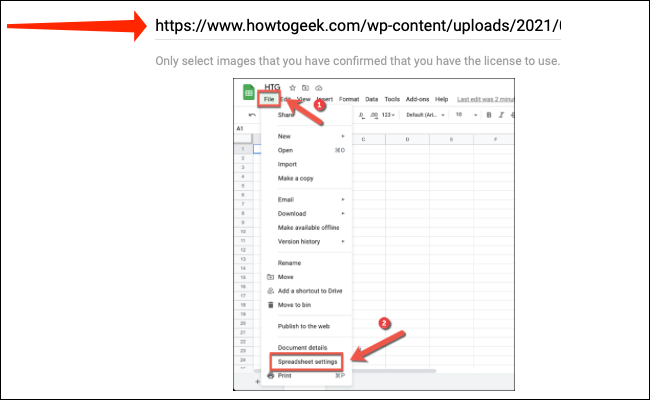
Once you’ve done that, click “Insert Image” to add it to your sheet.

The “Photos” tab lets you select images saved to Google Photos. When you click “Photos,” you will quickly see a list of all the photos stored in your Google Photos.
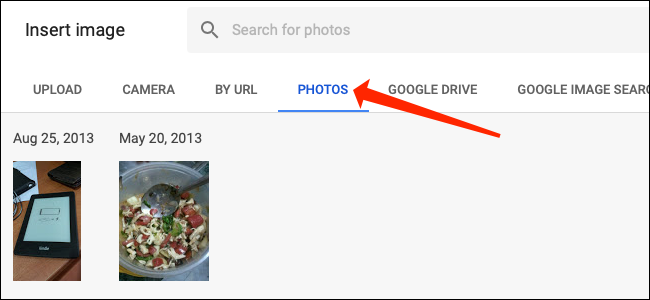
Click any picture to select it from the “Photos” tab.
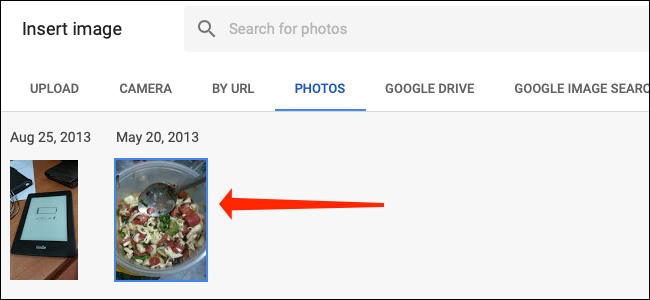
Then, click the blue “Insert” button near the bottom of the pop-up to add it to the cell.

You can also navigate to the “Google Drive” tab to select images from your cloud storage account. When you click “Google Drive,” you’ll have to select the folder where you’ve stored all images.

Once you’ve done that, click any photo to select it, and then hit “Insert” to add it to the selected cell.

Finally, you can select “Google Image Search” and use the “Search for Images” text box at the top to look for images from the internet. You can type any search query here as you would on Google search.
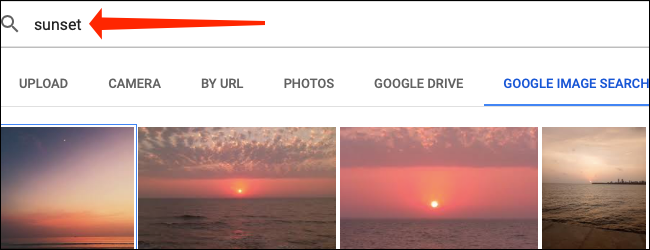
The next step is to click the image that you want to select, and finally, you can hit “Insert.”
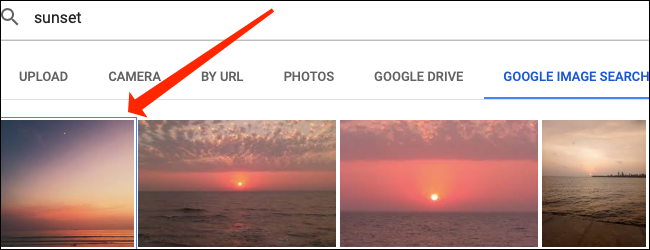
When you use this method to add photos to your Google Sheets document, the images will automatically scale to fit inside the selected cells. The scaling is proportional, so you don’t need to worry about the aspect ratio getting messed up.
However, if your cells are too small, the images will barely be visible, so you will have to adjust the size of the cell to ensure that the image is big enough to see.

You can easily do this by moving your mouse pointer to the bar above or below the row number on the extreme left side of the spreadsheet. Make sure that the mouse pointer turns into an up arrow icon and drag it up or down to adjust the size of the row.

Similarly, you can drag the mouse pointer to the separators between two columns at the top of the spreadsheet. Columns are denoted by alphabets in Google Sheets. Once the mouse pointer has turned into a right arrow, click and drag it to adjust the size of the column.

As the size of the cell increases or decreases, you’ll see that the image automatically scales to fit the dimensions of the cell.
Use the Image Function to Add an Image to a Cell
The Image function offers another way to insert images inside cells in Google Sheets. This method is a bit more complex, but it also offers an additional degree of customizability by letting you choose the size of the image inside the cell.
First, let’s go to https://docs.google.com/spreadsheets/ and open any spreadsheet. Now, select any cell and go to the menu above the spreadsheet and navigate to Insert > Function > Google.
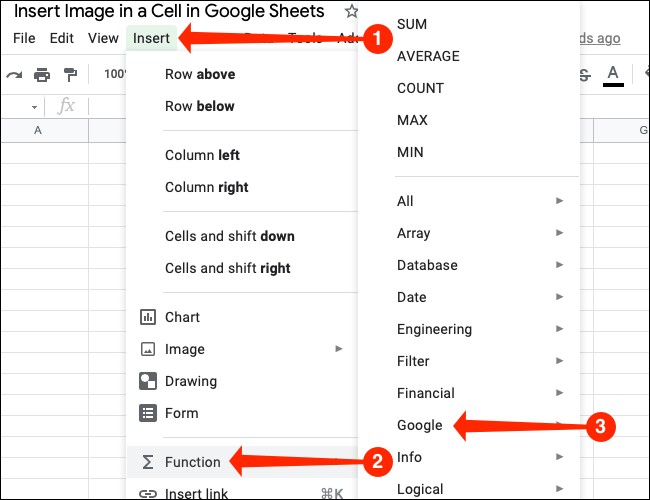
To insert images inside a cell in Google Sheets, click “Image.”
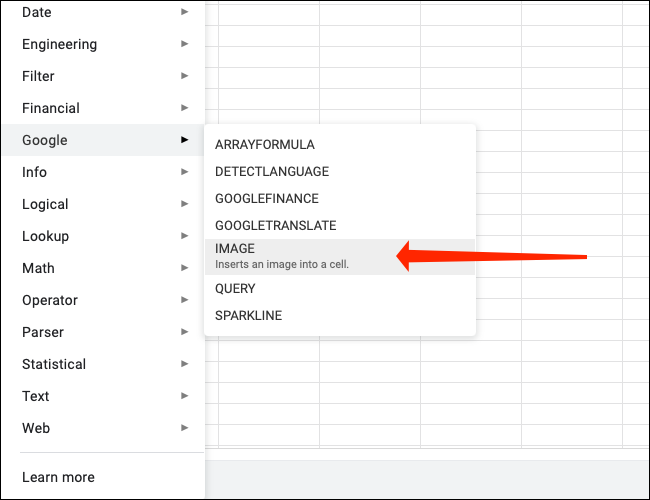
You’ll see a pop-up that shows you the syntax for the Image function and tells you what each parameter does. The syntax looks something like this:
=IMAGE(url, [mode], [height], [width])
Let’s quickly take a look at what each of these parameters means and how to use them. The URL parameter is the most important, since the function will break if you don’t add any value to this parameter. You can copy the link to any image from the internet and paste it here. If you’re using an image URL, be sure to wrap it in quote marks, like this:
=IMAGE("https://www.howtogeek.com/wp-content/uploads/2018/08/new-design-social-coverphoto.png")
You can select any cell and paste the syntax into the formula bar, which is located between the menu and the alphabets indicating column names.

You should remember that Google Sheets doesn’t allow you to use Google Drive links with the Image function. Another thing to note is that SVG format images will not work with this function.
All other parameters are optional, but they’re quite useful, so we’ll quickly explain what they do. The [mode] parameter lets you decide the size of the image, and it can only have one of four values:

Here’s how you can correctly use the first three sizing modes:
=IMAGE("https://www.howtogeek.com/wp-content/uploads/2018/08/new-design-social-coverphoto.png", 1)
You can replace the number 1 with either 2 or 3 depending on the sizing mode that you want to use. To use the fourth sizing mode, the height and width parameters will also have to be specified. The Image function measures height and width in pixels, and here’s an example of the correct syntax for this:
=IMAGE("https://www.howtogeek.com/wp-content/uploads/2018/08/new-design-social-coverphoto.png", 4, 1500, 500)
Note that 1,500 is the width in pixels and that 500 is the height. We’re using it in this order because that’s what the Google Sheets syntax specifies.
Once you master these methods, adding images inside cells in Google Sheets will become really easy. Good luck!


