
Some time you want to share your OneNote notes with someone who doesn’t have OneNote, or if you want to prevent accidental editing of your notes, convert Microsoft OneNote to a PDF file. Here’s how it’s done.
Table of Contents
Convert Microsoft OneNote to a PDF file
Introduce
OneNote is a digital notebook that provides a single place for all your notes and information — everything you need to remember and manage in your life at home, at work, or at school.
In OneNote, your notebook will never run out of paper. These notebooks can be easily organized, printed and shared, and they have a quick search feature to instantly call up anything you want. The best part is, you can keep your notebooks online and use them anywhere.
How to convert Microsoft OneNote to a PDF file

PDF Saving Behavior Varies by Platform
OneNote notebooks contain one or more sections, and each section contains one or more pages. To illustrate what that means, here’s a chart to show the structure of a OneNote notebook:

What you can save as a PDF in OneNote depends on which OS you’re using. OneNote for Windows 10 lets you save a page, a section, or the entire notebook as a PDF. However, OneNote for Mac only lets you save the single page that you’re currently on as a PDF.
The instructions for converting OneNote notes to a PDF are also different between Windows 10 and Mac. We’ll show you how to do both.
How to Convert OneNote Notes to a PDF on Windows 10
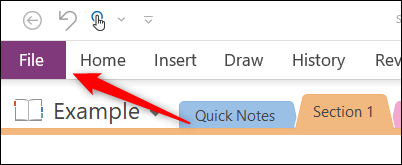
To get started, launch OneNote for Windows. Open the OneNote notebook you would like to convert to a PDF. Once it’s loaded, click the “File” tab on the ribbon.
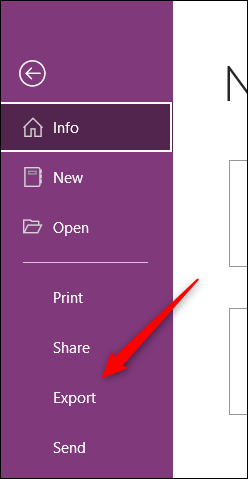
In the left-hand menu, click “Export.”
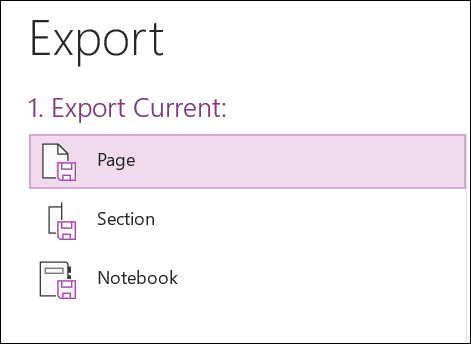
Next, select which part of the notebook you’d like to export from the “1. Export Current” group. You can choose between the “Page,” “Section,” or “Notebook” that you’re currently working in.
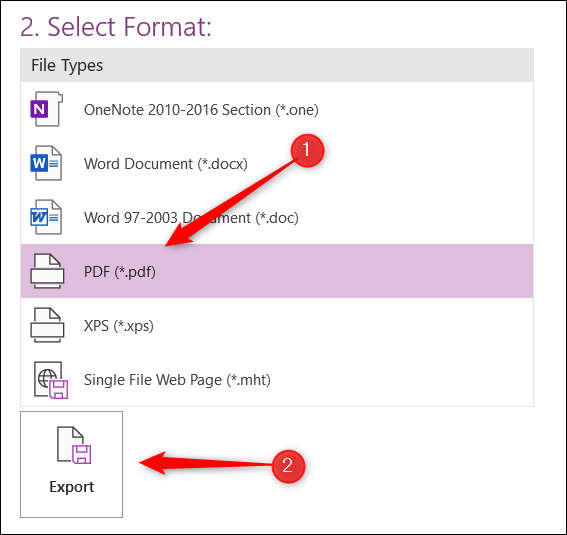
In the “2. Select Format” group, select “PDF” from the list of file types, and then click “Export.”
File Explorer will open. Choose the location in which you would like to save your file, name it, and then click “Save.”
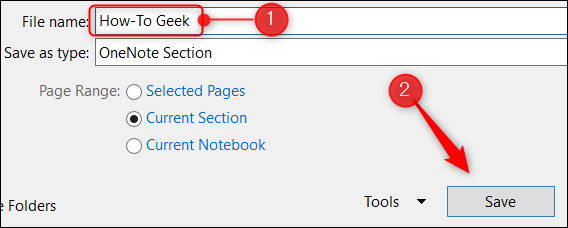
Your PDF file is now ready. You can open it using a web browser or your favorite PDF viewer.
How to Convert OneNote Notes to a PDF on Mac
Exporting OneNote notes on a Mac is fairly easy, but as mentioned above, Mac only lets you save the page that you’re currently on—you can’t save a section or the entire notebook.
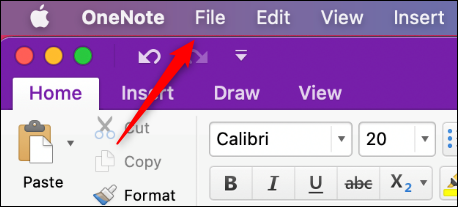
First, open the OneNote app, and then load the notebook that contains the page you would like to convert to a PDF. Next, click “File” in the menu bar.
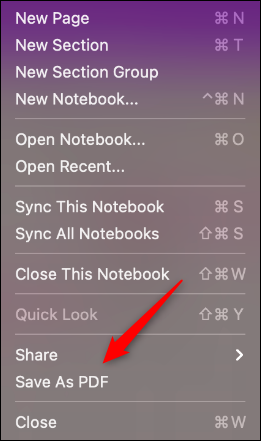
Click “Save as PDF” in the drop-down menu.
The “Save As” window will appear. Name your file, choose the location in which you would like to save it, and click “Save.”

Your PDF file is now ready for later viewing. Repeat this as often as you like to export more OneNote pages to PDF files.
Read more :


